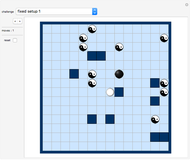
Draw Polygons on Grids


Requires a Wolfram Notebook System
Interact on desktop, mobile and cloud with the free Wolfram Player or other Wolfram Language products.
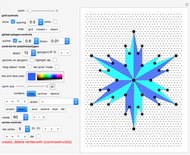
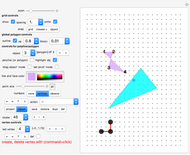
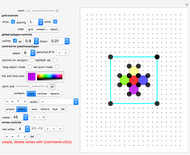
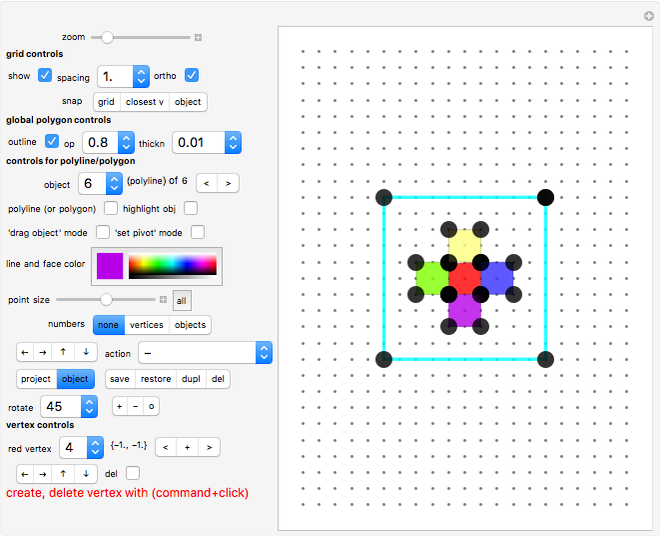
You can create, drag, store and delete points, lines, polylines and polygons.
[more]
Contributed by: Karl Scherer (May 2008)
Open content licensed under CC BY-NC-SA
Snapshots

Details
Introduction
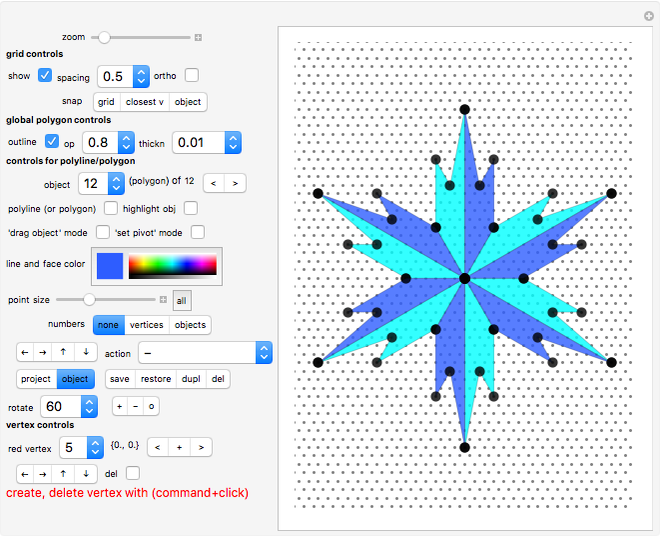
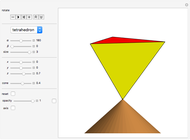
In this demonstration you create polylines and polygons, both of which we will call "objects" in the following text. The current object is highlighted by having one (the current) vertex colored red and the other vertices colored orange.
If you do not see which object is the current, then the point size is zero or close to it. Move the point size slider to the right to highlight the vertices of the current object.
Controls
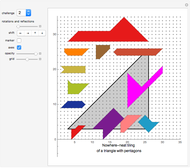
Grid controls "Show" will display a point grid. This grid will be "ortho" (orthogonal) or isometric (30° grid). With "spacing" you can change the density of the grid points.
"Snap to grid/closest vertex/object": Vertices are NOT automatically snapped.
Click "grid" or "closest vertex" to snap the current red vertex to the grid or to the closest vertex outside the current object, and this includes the pivot (special position on the board marked by a blue dot)!
Click "object" to snap all vertices of the current object to the grid.
Global polygon controls
Here you select an "outline" (for all polygons simultaneously), opacity ("op"; for all polygons simultaneously), and line thickness ("thickn"; for all polylines simultaneously).
Controls for polyline/polygon
"object" pop-up menu Here you can choose which object you want to edit. If you do not know which object number to select, click option "object" in the "number" setter bar (see further down). This will display the sequence numbers of the objects at the centers of the objects.
There is also a pair of buttons "<,>" to select the previous or the next object in the sequence.
"polyline (or polygon)" Select it to make the current object a polyline. Otherwise it will be a polygon.
"highlight current object" When active, the current object's vertices will be highlighted in red (last vertex) and orange (all others).
"drag object" mode
Click to go into "drag object" mode, i.e. you can move your polygon or polyline as a whole (not just one vertex). To drag your object, you have to move the mouse cursor to the red vertex first. Warning: It is not recommended to do anything else during drag mode! Otherwise the system might not react as expected. Click again to stop the drag mode.
"set pivot" mode Click it to move temporarily into a special mode that allows you to mark (by the mouse dragging the blue Locator) a special spot (the pivot).
Warning: No other actions should be tried during this mode. Otherwise the system might not react as expected. Click again to exit the "set pivot" mode.
"line and face color" Select a color for the face of the current polygon. The same color is used for the colored lines of the polylines.
"point size" slider Controls the point size of the current polygon.
"all" button
Causes the application of the current pointsize to all stored objects.
"size" slider and toggle "do"
This slider allows you to resize the current object; it will by bigger or smaller according to the value set. Clicking the toggle "do" next to the size slider activates the selected size;
"numbers -/vertices/objects" setter bar Displays the sequence numbers of the vertices of the current object or the sequence numbers of the objects.
(object) shift setter bar Shift the current object to the left, right, up or down by one unit.
pop-up menu "action" and toggle "r" (repeat) next to it This menu offers processes concerning snaps, mirroring, coloring and the pivot.
Three snap options: Select to snap all vertices of the current object or of all objects to the grid. Option "snap pivot" snaps the pivot to the grid (only available when "set pivot" mode is NOT active).
Mirroring options: You can mirror an object: - at the x-axis, the y-axis, at the origin, at the pivot, horizontally at the pivot, vertically at the pivot, - at the red vertex, horizontally at the red vertex, vertically at the red vertex, - or at the edge which leads to the red vertex (edge between vertex number v-1 and vertex number v).
Coloring options: Choose to paint all polygons with the current color, or randomize the color of the current object or of all objects.
Option "hide pivot" allows you to make the pivot invisible. Click again to show it again.
Option "object to pivot" moves the current object such that the red vertex ends up at the pivot.
Option "pivot -> vertex" moves the pivot to the red vertex of the current object.
Option "vertex only" reduces the current object to one point. This tool can be used to start a new polygon (click "object duplicate" first)
Option "move to top" makes the current object the top one (visible when the polygons overlap).
Option "show axes" displays a pair of axes which fits best with grid spacing "1".
toggle "r" (repeat)
Click it to have the system repeat the last action.
"project/object" and "save/restore/dupl/del" setterbars Click "project" or "object" depending whether you plan to save/restore/duplicate/delete your whole project or only the current polygon.
"rotate" Select the degrees for a rotation of the current object.
"+/-/o" Click to rotate the current object anticlockwise ("+"), clockwise ("-"), or create a circular arrangement of copies.
The rotations will be around a given pivot (which is at the origin at first).
"red vertex" pop-up menu Here you can choose which vertex you want to edit (see "click board to" - option "move vertex"). This vertex will be colored red. Note, however, that a newly added vertex will always be connected to the vertex with the highest number, independent of which vertex is red.
"" setter bar
"<" and ">" select the previous and next vertex; "+" duplicates the current vertex.
(vertex) shift setter bar Click to shift the red vertex to the left, right, up or down by one unit.
"delete"
Click to delete the red vertex. You can also delete (and create) a vertex with Alt-Click in Windows or Option-Click on the Mac.
How to create or delete a vertex
At the bottom left a hint is displayed that you can create and delete a vertex with Alt-MouseClick in Windows or Option-MouseClick on the Mac.
How to start a new polygon/polyline or lengthen a polygon/polyline . Use the "duplicate" button to create a copy of the current polygon or polyline. If you wish, you can then click the "vertex only" toggle at the lower left border which reduces the current object to a single point. Drag this point, if necessary, to a different place. Then create new vertices with Alt-MouseClick in Windows or Option-MouseClick on the Mac (the new vertex will be connected to the last and first vertex of the polygon/polyline). Alternatively, you can click the plus sign "+" in the vertex controls "". This will cause the creation of a vertex halfway between the currently highlighted vertex and the next one.
Permanent Citation
"Draw Polygons on Grids"
http://demonstrations.wolfram.com/DrawPolygonsOnGrids/
Wolfram Demonstrations Project
Published: May 5 2008
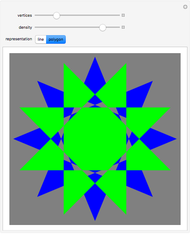 Star Polygons
Michael Schreiber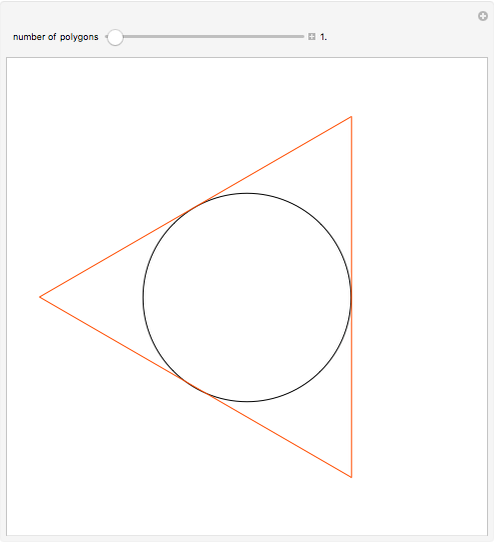 Circumscribing Polygons
Chris Boucher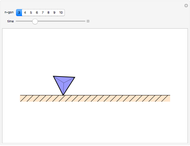 Rolling Polygons
Jaime Rangel-Mondragon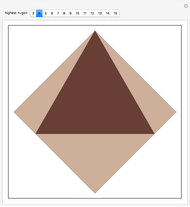 Nested Regular Polygons
Jaime Rangel-Mondragon Distance and Polygons
Michael Schreiber Polygons on n Vertices
Marc Brodie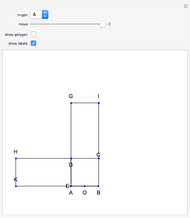 Mechanism for Constructing Regular Polygons
Izidor Hafner Covering the Plane with Polygons
Enrique Zeleny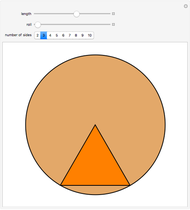 Rolling Polygons in a Circle
Jaime Rangel-Mondragon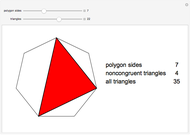 Inscribed Triangles in Polygons
Kaya Çelebi
-
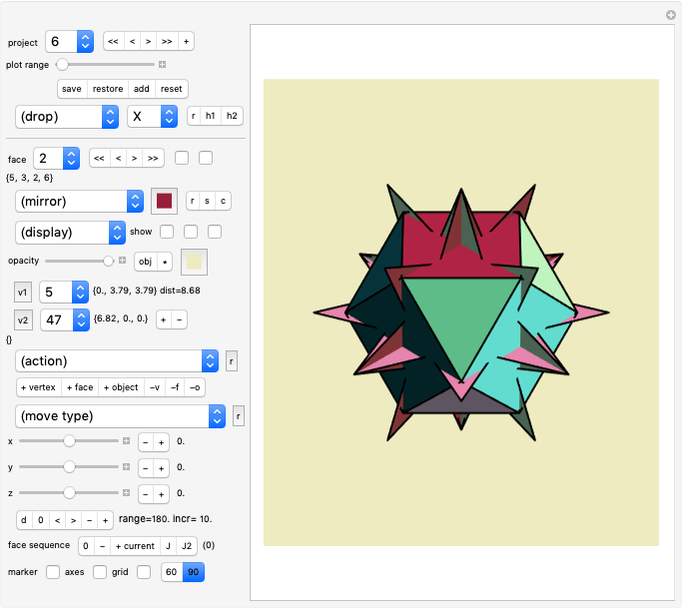 Polyhedral Playground
Karl Scherer -
 Tiling Constructor, Tile-Dragging Variant
Karl Scherer -
 The Catenax Puzzle
Karl Scherer -
 Angel Puzzle
Karl Scherer -
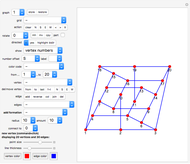 Constructing and Manipulating Graphs
Karl Scherer -
 3D Construction Set
Karl Scherer -
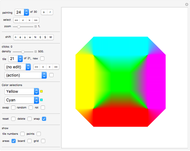 Blended Quadrilaterals
Karl Scherer -
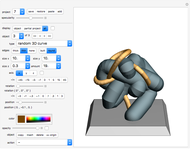
 Rotating Polyhedra in Space
Karl Scherer -
 The Misdirection Game
Karl Scherer -
 Tensegrity
Karl Scherer -
 Nowhere-Neat Tilings
Karl Scherer -
 Pocket Calculator
Karl Scherer -
 Area Puzzle
Karl Scherer -
 Molecule Construction Set
Karl Scherer -
 The Ray Puzzle
Karl Scherer -
 Animated Model of an Industrial Robot Arm
Karl Scherer -
 Model of an Industrial Robot Arm
Karl Scherer -
 Color-Blended Circular Tiles
Karl Scherer -
 Rep-Tiles
Karl Scherer -
 Armed Balloons Puzzle
Karl Scherer