Creating and Manipulating Knots


Requires a Wolfram Notebook System
Interact on desktop, mobile and cloud with the free Wolfram Player or other Wolfram Language products.
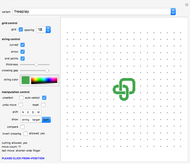
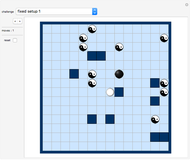
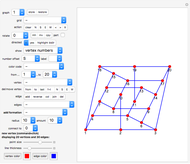
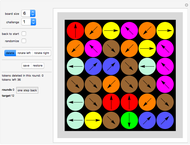
Create and more or less intuitively manipulate simulated (looped or unlooped) strings and knots with mouse clicks.
[more]
Contributed by: Karl Scherer (November 2008)
Open content licensed under CC BY-NC-SA
Snapshots
Details
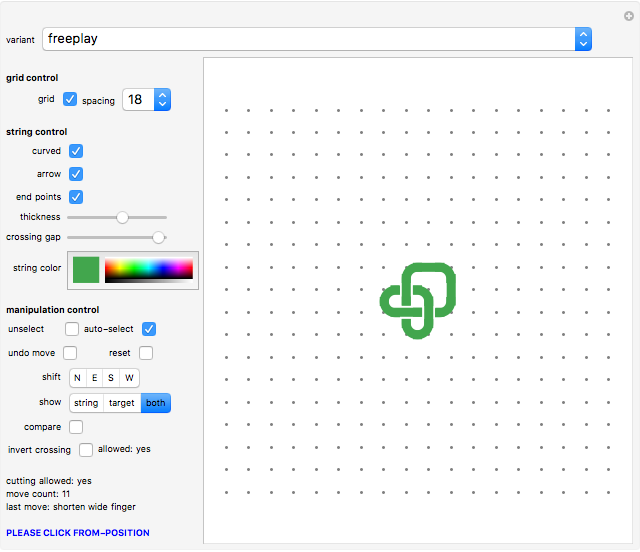
All string segments are horizontal or vertical straight lines, right-angled corners, or crossings. The option "curved" smooths out the display by using 90â€Âdegree arcs instead of right angles.
The system allows many ways to pull and push the string; the direction of motion always being along one of the eight main directions. The handles of the rope segments are always at the grid points. Explore!
Due to its huge size, the program is a bit sluggish to react to mouse clicks; hence do not move the mouse pointer away from the clicked position too quickly.
To manipulate the string, click a grid point with a string part to choose a from-position. The from-position will be highlighted. If you have selected the wrong from-position, click it again and it will be unselected. Then click another grid point to define the target position.
The motion of a string manipulation can be orthogonal or diagonal over any distance, but some restrictions apply, depending on the configuration of the string.
For starters, try "pulling" corners and straight pieces, or lengthening and shortening the ends of the string.
Note that two horizontal strings cannot be on top of each other, since all string pieces have to be visible at any time. The same is true for two vertical segments.
Crossing segments
Where two strings cross, in general the new part will be on top of the existing segment. There is one exception:
To pass a loose string end, a corner, or a straight piece underneath an orthogonal line, move the end onto the straight segment. The string will automatically be run underneath the crossing segment and be lengthened toward the next free position.
If the new segment has to cross several segments, it will run below the first crossed segment only (the clicked one) and will run above all others.
If you overshoot or if there are several lines crossing and you want to pass under all of them, you can move the loose end back to the intersection that you want to pass under. Note this retraction move has only been implemented for loose ends, since it would be too cumbersome to encode other cases. However, in order to simulate swapping layers of finger-like protrusions or loop pieces and so on, we use a special and very powerful mechanism called the "H-move".
The H-move
The letter H symbolizes two vertical parallel lines crossing a long straight piece. Now assume the crossed horizontal line is at the bottom level. The top tips of the H are connected by a part of the string that is situated completely at the top level, which means it has no line crossing over it. In such a case you can click the left crossing, then the right one, and the finger will slip underneath the horizontal line of the H-configuration. This identical H-move can also be used to lift a finger from under the line.
The H-move even works if the horizontal bar has lines crossing below it between the two parallel crossings of the H.
To swap the crossings of a top-layer finger connecting the lower tips of the H from "both over" to "both under" or vice versa, simply click the right intersection first, then the left intersection.
Finally, four similar manipulations are available if a finger is fully placed at the bottom level of the diagram.
Cutting the string
You can produce any number of additional string pieces by "pulling apart" a straight stretch of string. To do this, you take two consecutive horizontal (or vertical) pieces and move one to the other.
Note that in the challenge variants (see below), cutting the string is not allowed.
Control buttons
Click the "curved" button to toggle between smooth corners and right angles.
Once you have selected the option "auto-select", the system will always take your last to-position as the next from-position, as long as this position still contains a string segment. Unselect by clicking the same position twice. Using "auto-select" can speed up the design of a knot dramatically.
Hit the "undo move" button to undo the last from-to movement.
The "reset" button takes you back to the default setup.
Unselecting the "auto-select", "undo move", or "reset" option will cause the system to automatically unselect and forget any highlighted from-position.
In challenges, the "show" buttons allow you to switch the display of the target configuration off.
The "shift" buttons allow you to shift your string one step to the North, East, South, or West up to the rim of the board.
In challenges, the "compare" option indicates with orange points all positions where the target configuration (shown in gray in the background) is still different from the manipulated string in the foreground. Hence it is a tool to check how close you are to solving the challenge.
The "invert crossing" will change a highlighted crossing which has the horizontal bar on top into a crossing which has the vertical bar on top, and vice versa. However, this feature is not available for solving the challenges (text "allowed: no" will be shown).
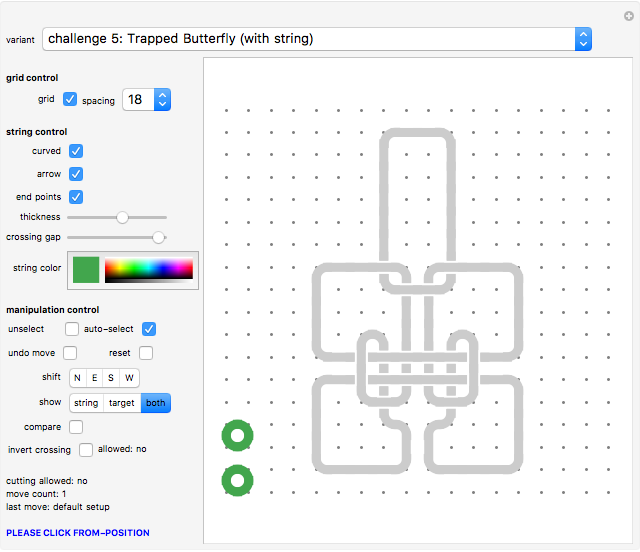
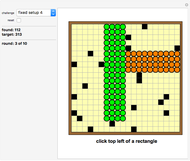
Challenges
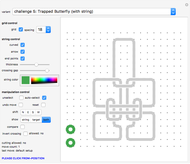
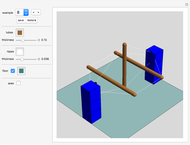
Eight challenges have been included in the "variant" dropdown menu. They are based on a series of wire-and-string puzzles invented by the author. In contrast to the actual wire-and-string puzzles, where the wire is the rigid part, here the wire part can also be manipulated.
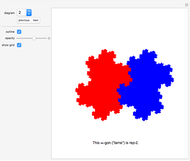
You are given a closed string (the loop shown at the lower left of the board) and also a complicated knot as a gray background image that you have to copy by manipulating your given loop. Once you have achieved this, return the string to the simple round loop you started from.
In these challenges you are not allowed to cut the string and rejoin it (that would be cheating!).
Also, you cannot resize the grid.
In some of the challenges you are given two loops and you have to recreate the entanglement of two closed strings as shown (representing a long loop of wire and a short loop of string). As an easier exercise you may at first ignore the second loop.
All challenges use a board size of 18×18, which cannot be changed.
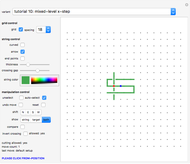
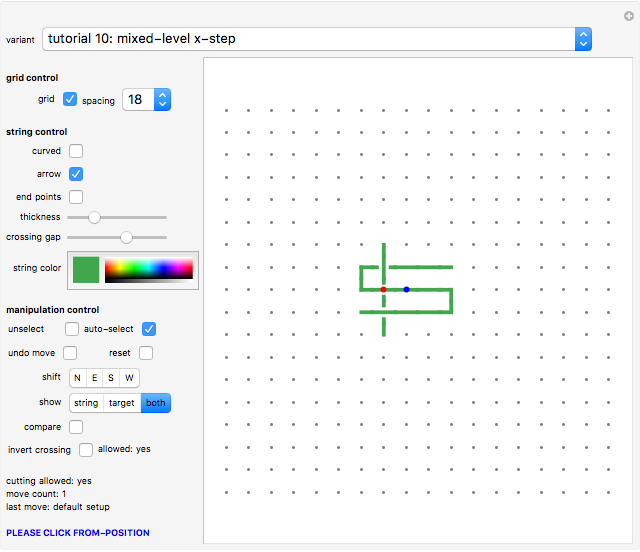
Tutorial
A complete tutorial is included in the "variant" dropdown menu.
The title of each exercise is the name of the move type you are being taught.
The setup of each tutorial variant contains a red and a blue dot. Click the red dot first, then the blue dot to execute the specific manipulation. If there is more than one blue dot given in the setup, select one of them as a target.
After the first move the red and blue dots disappear, and you are free to try out any manipulation. Hit the "reset" or "undo" button to do the same exercise again or to use a different blue target dot.
Please note that the "mixed-level x-step" shifts the moved bar only one position at a time. (That is why it is called a step, not a slide.)
If you cannot find a move that you can use for your planned manipulation, break your task down into smaller steps.
Most of the manipulations that are applied in the tutorial to a string segment in the upper level also work when you apply them to string parts that are positioned at the lower level. Tutorial 16 shows an example.
History
This Demonstration is based on similar publications by the author, namely the Zillions games "Knots", "Knots 2", "Knots 3", and "Knots 4", which go deeper into the problem area of knots and also offer much better graphics and much faster manipulations.
Permanent Citation
"Creating and Manipulating Knots"
http://demonstrations.wolfram.com/CreatingAndManipulatingKnots/
Wolfram Demonstrations Project
Published: November 14 2008
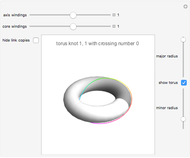 Linked Torus Knots
Michael Schreiber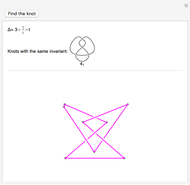 The Alexander Polynomial of a Knot
Maxim Rytin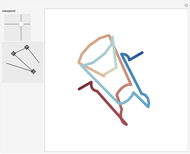 A'Campo's Link of a Divide
Ken Baker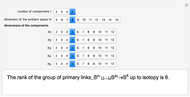 The Ranks of the Groups of Links
Mikhail Skopenkov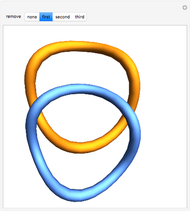 Borromean Ring Removal
Michael Schreiber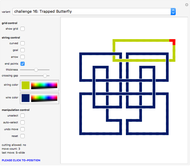 Wire-and-String Puzzles
Karl Scherer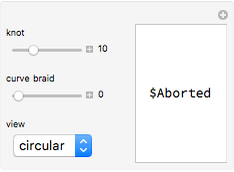 Understanding Braids and Knots
Enrique Zeleny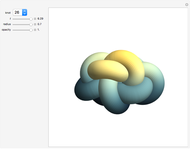 Knots with 10 Crossings
Enrique Zeleny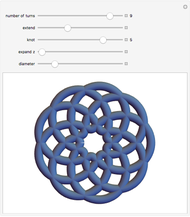 Coils, Knots, and Rosettes
Sándor Kabai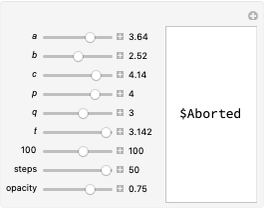 Surfaces Defined on Torus Knots
Enrique Zeleny
-
 Polyhedral Playground
Karl Scherer -
 Tiling Constructor, Tile-Dragging Variant
Karl Scherer -
 The Catenax Puzzle
Karl Scherer -
 Angel Puzzle
Karl Scherer -
 Constructing and Manipulating Graphs
Karl Scherer -
 3D Construction Set
Karl Scherer -
 Blended Quadrilaterals
Karl Scherer -
 Rotating Polyhedra in Space
Karl Scherer -
 The Misdirection Game
Karl Scherer -
 Tensegrity
Karl Scherer -
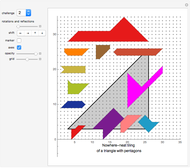 Nowhere-Neat Tilings
Karl Scherer -
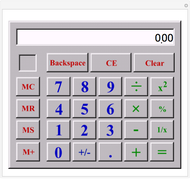 Pocket Calculator
Karl Scherer -
 Area Puzzle
Karl Scherer -
 Molecule Construction Set
Karl Scherer -
 The Ray Puzzle
Karl Scherer -
 Animated Model of an Industrial Robot Arm
Karl Scherer -
 Model of an Industrial Robot Arm
Karl Scherer -
 Color-Blended Circular Tiles
Karl Scherer -
 Rep-Tiles
Karl Scherer -
 Armed Balloons Puzzle
Karl Scherer