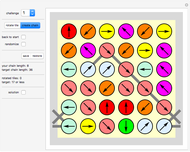
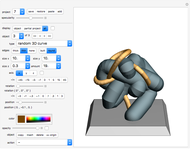
Lissajous Art


Requires a Wolfram Notebook System
Interact on desktop, mobile and cloud with the free Wolfram Player or other Wolfram Language products.
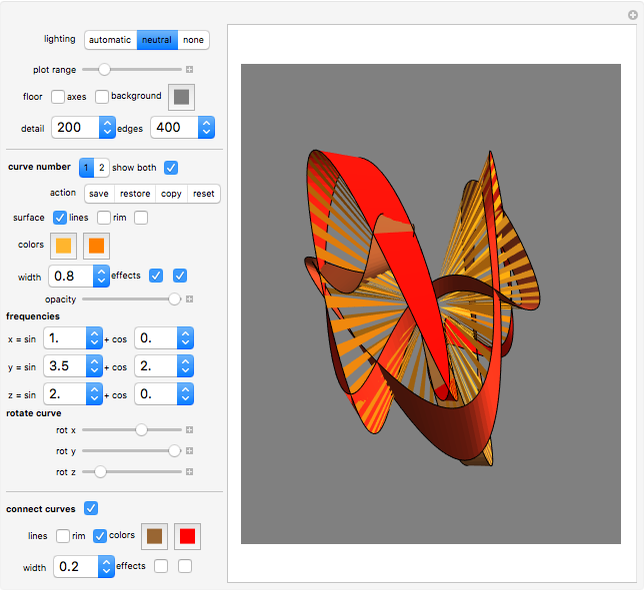
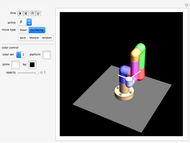
With this Demonstration you can create interesting ribbon-like surfaces. The technique of superimposing two surfaces or connecting two curves to create a ribbon-type surface results in some very aesthetically pleasing and artistic designs not seen in any other Demonstration. The program is based on generalized three-dimensional Lissajous curves. Several additional options increase the freedom of artistic expression available.
Contributed by: Karl Scherer (March 2011)
Open content licensed under CC BY-NC-SA
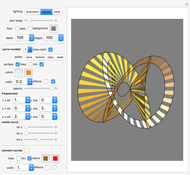
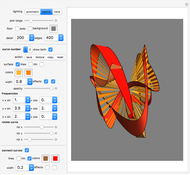
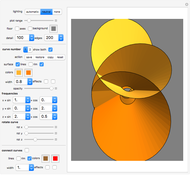
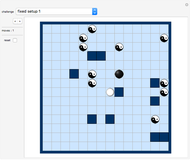
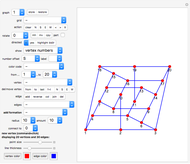
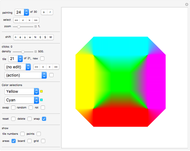
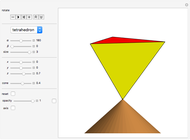
Snapshots

Details
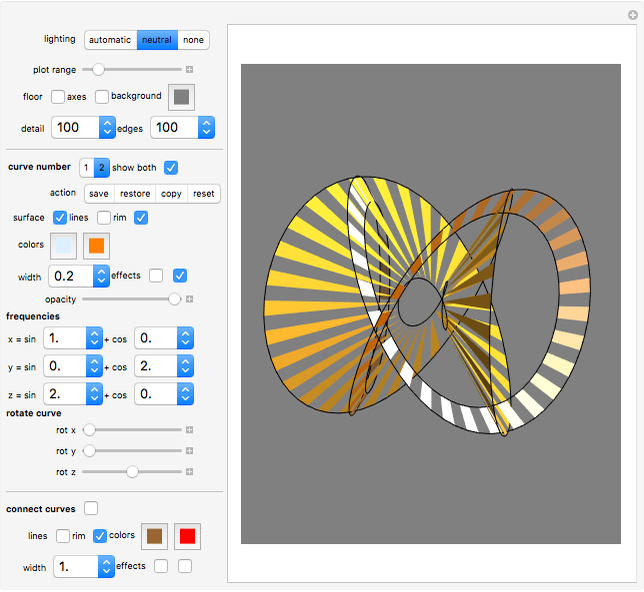
General Controls
"lighting" setter bar: three types of lighting are provided.
You can increase the plot range with the "plot range" slider (it can also be used to zoom).
You can choose to display a square "floor" showing the plot range in the  -
- plane by checking "floor".
Check/uncheck "axes" to display arrows for the axis (red), axis (green), and  axis (blue).
"background" lets you select the background color.
"curve number"
Here you choose which of two curves you want to edit.
"show both": this lets you select whether you want to see the current surface only or the current surface as well as the stored second surface. (Remember that only the selected curve can be edited.)
"store/restore/copy/reset" setter bar
"save": stores the current settings to the storage of the selected curve. "restore": restores the curve settings from storage. "copy": copies the current settings to the storage area of both curves. "reset": restores the currently edited curve to its default settings.
"surface" checkbox
If the option "surface" is selected, the curve is connected to the origin  with many triangular polygons, and thus a warped surface is created (see also the description of "width" below).
"lines" checkbox
The option "lines" only has an effect if "surface" has been selected.
If the option "lines" is selected, each vertex is connected to the origin by a black line. Also, a black rim runs along the curve.
"rim" checkbox
If the option "rim" is selected, a black rim runs along the curve.
"colors" selection
This defines the colors of the surface. A smooth color transition is used from the first color to the second and back to the first.
"width" dropdown menu
If "width" is set to 1, then the surface (if selected) covers the area between the origin and the curve.
If "width" is not 1, then the surface is the area between the curve and a second, similar, "sister" curve that is positioned between the original curve and the origin. Technically the sister curve is created by multiplying each vertex with the factor "width".
Explore what happens when you set the width to very large or very small values!
"effects" checkboxes
First checkbox: if "width" is not 1, selecting this "effect" option creates an effect like sun rays. Instead of a ribbon, the area between the two sister curves is filled with a series of triangles.
Second checkbox: when the surface is being created, only every second quadrilateral (or triangle, if the first checkbox is selected) is shown. Thus the surface created consists of a series of parallel stripes.
"opacity" slider
Defines the opacity of the surface.
"frequencies" dropdown menus
The coordinate of the  vertex of the currently edited object is calculated as
 ,
,
 ,
,
 ,
,
where  are the "frequencies" selected from the dropdown menus, and "detail" is also selected from the associated dropdown menu.
The factors  and so on (which are either 1 or 0) have been introduced in order to enforce that the components with frequency 0 are ignored. So effectively we have
 .
.
The variable  counts the number of edges on the rim of the object. Hence it runs from 1 to the selected "edges" value.
The higher the selected "detail", the smoother the curves and surfaces will be.
"rotate curve" sliders
These sliders control the rotation of the curve in space.
First (slider "rot x") the curve is rotated around the axis by the given value (in degrees),
then around the axis (slider "rot y"), and finally around the axis (slider "rot z").
"connect curves" Controls
"connect" checkbox: this creates a ribbon-like surface between the two curves.
"lines" checkbox: paints the boundary of small polygons (which make up the ribbon) black.
"rim" checkbox: paints boundary of ribbon black.
"colors": defines the colors of the ribbon. A smooth color transition is used from the first color to the second and back to the first.
"width" dropdown menu: defines the width of this ribbon. The default value is 1, which means that the ribbon connects both curves. Smaller values create a more narrow ribbon. This more narrow ribbon still connects to the current curve, but does not connect to the other curve anymore. Explore what happens when you set the width to very large or very small values!
"effects" checkboxes: First checkbox: checking it connects the curves with a series of triangles.
Second toggle: only every second quadrilateral (or triangle, if first checkbox is selected) is created. Thus the connection between the curves consists of a series of parallel stripes.
You cannot store or restore these "connect curves" controls.
Hints
If you selected integer values for all frequencies, you get closed surfaces by setting "edges" equal to "details".
If you selected a half-integer frequency, you get closed surfaces by setting "edges" to twice the value of "details".
If you selected frequencies as multiples of .1, then you get closed surfaces by setting "edges" to 10 times the value of "details".
Smooth color transitions need an associated single run through the parametrization of a closed curve. Therefore, if one curve uses integer frequencies, for nice color transitions it is best to select integer frequencies for the second curve as well; similar for half-integer frequencies, and so on.
Permanent Citation
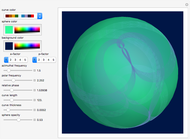 Lissajous Patterns on a Sphere Surface
Vitaliy Kaurov Op Art on Surfaces
Izidor Hafner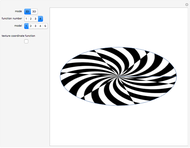 Op Art on 2D Regions and 3D Surfaces
Izidor Hafner Op Art on a Sphere and a Cylinder
Izidor Hafner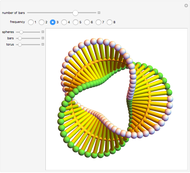 Möbius Strip Made from a Rotating Bar
Sándor Kabai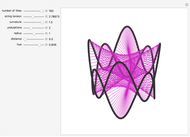 Modern Thread Lampshade
Jorge Ventura Gil Eight Spheres
Sándor Kabai Zebra-Painted Egg
Michael Schreiber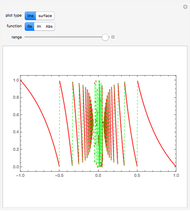 Gauss Map
Enrique Zeleny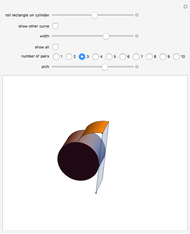 Circle Involute 3D Art
Sándor Kabai
-
 Polyhedral Playground
Karl Scherer -
 Tiling Constructor, Tile-Dragging Variant
Karl Scherer -
 The Catenax Puzzle
Karl Scherer -
 Angel Puzzle
Karl Scherer -
 Constructing and Manipulating Graphs
Karl Scherer -
 3D Construction Set
Karl Scherer -
 Blended Quadrilaterals
Karl Scherer -
 Rotating Polyhedra in Space
Karl Scherer -
 The Misdirection Game
Karl Scherer -
 Tensegrity
Karl Scherer -
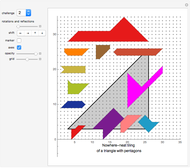 Nowhere-Neat Tilings
Karl Scherer -
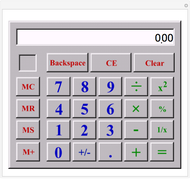 Pocket Calculator
Karl Scherer -
 Area Puzzle
Karl Scherer -
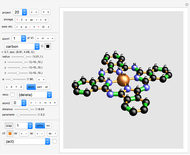 Molecule Construction Set
Karl Scherer -
 The Ray Puzzle
Karl Scherer -
 Animated Model of an Industrial Robot Arm
Karl Scherer -
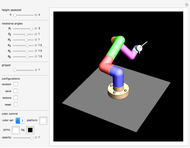 Model of an Industrial Robot Arm
Karl Scherer -
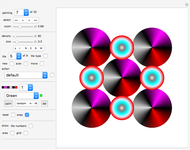 Color-Blended Circular Tiles
Karl Scherer -
 Rep-Tiles
Karl Scherer -
 Armed Balloons Puzzle
Karl Scherer