Blended Quadrilaterals


Requires a Wolfram Notebook System
Interact on desktop, mobile and cloud with the free Wolfram Player or other Wolfram Language products.
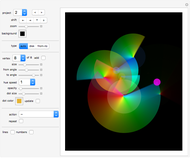
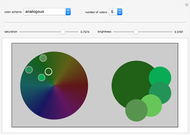
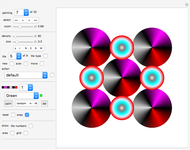
Use this Demonstration to create a piece of art with color-blending tiles.
Contributed by: Karl Scherer (January 2017)
Open content licensed under CC BY-NC-SA
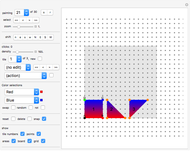
Snapshots


Details
Introduction
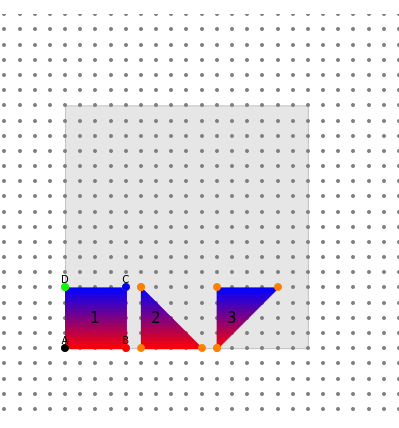
Let us start with painting 21.
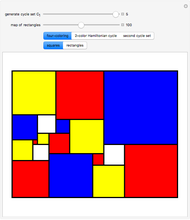
The small square and two small triangles are examples of shapes called tiles. Some of these tile types can be used to cover two-dimensional areas without gaps or overlaps. The blending of colors on these tiles gives mosaics with a fascinating effect that cannot be achieved with monochrome tiles (e.g. paintings 3, 22, 23 and 24), especially when adjacent sides match.
Try to put lines of solid color next to lines of solid color (with the same hue), and place lines of blending colors next to blending lines of the same hue. Painting 3 shows a good example of this.
Each tile is defined by four mouse clicks on the board (while "no edit" is selected), resulting in a square or triangle (any quadrilateral can be used), each with a blend of two colors.
Certain tile sets force a special type of result. Here are just a few:
Tile set 1: only tiles of the type in painting 21 (square and two triangles) plus their rotations (multiples of 90 degrees on the orthogonal grid, multiples of 60 degrees on the isometric grid) and their mirror images.
Tile set 2: In addition to tile set 1, tiles that are monochrome (both colors are the same) are also allowed.
Tile set 3: In addition to tile set 2 any quadrilaterals (and triangles) of any shape are also allowed.
Tile set 4: In addition to tile set 3 gaps and overlaps are allowed.
First Exercises
Look at painting 21. It shows one large, light gray area, a small square and two triangles.
The small square and the two triangles show a mix of red and blue hues. We get back to this later.
The small square has four vertices colored black, red, blue and green (and marked A, B, C and D).
Two sides of the square are of pure color, and the other two sides show a blend of red and blue. These four colors of the vertices A, B, C and D are NOT related to the two colors red and blue that the content of the square is made of!
Now, start in an empty area and click the board at four positions in a counterclockwise direction, as shown in the small square. Congratulations! You have created another square with the same hues as the first square, showing blue at the top and red at the bottom, and a blend of red and blue in between. (The system does not check if you actually clicked inside the gray square playing area.)
Do a few experiments by clicking four positions that do not result in a square. Explore!
What happens if the fourth click is placed exactly in the same place as the third click (i.e. if  )?
)?
The first small triangle shows the result: the bottom is red, close to vertex B it is blue, and a blend of red and blue in between. Only one side shows a pure color; the other two show a blending of colors.
Finally, the second triangle shows what happens in the case  : two sides show a pure color, and only one side shows a blending of two colors.
Controls
"painting": create a new painting or modify an existing one.
Paintings 1 to 4 have a triangular playing area with side length 9.
Paintings 5 to 8 have a triangular playing area with side length 10.
Paintings 9 to 12 have a hexagonal playing area with side length 5.
Paintings 13 to 16 have a hexagonal playing area with side length 7.
Paintings 17 to 20 have a hexagonal playing area with side length 9.
Paintings 21 to 30 have a square playing area with side length 16.
"s": click to save your painting
"r": click to restore painting
"select" : jump to the first/previous/next/last project.
"zoom": this slider is used to zoom in and out.
"shift": n/e/s/w: shift vertex; N/E/S/W : shift tile (by half a unit step at a time)
"clicks": shows the number of vertices in the quadrilateral being created. If an incomplete tile (consisting of 1, 2 or 3 clicks) exists when changing to a different control, it will be deleted.
"density": use this slider to set the density; a higher density means more lines, and hence a more completely painted quadrilateral.
"tile": use this popup menu to select the existing tile to work on.
"new": click this button to insert a copy of the current tile at the position of the current tile. At first, it is hidden because it is placed on top of the current tile.
"(no edit)": use this popup menu to • select one of the four vertices (A, B, C, D) of the current tile. Then click the board anywhere to relocate the selected vertex.
• or choose option "edit tile". If "edit tile" is chosen, click the board anywhere to relocate the current tile.
"(action)": use this popup menu to choose from these options:
• "mirror tile hor": mirror tile horizontally immediately (with the black vertex on the mirror axis).
• "mirror tile ver": mirror tile vertically immediately (with the black vertex on the mirror axis).
• "rotate 1°/5°/30°/60°/90°": rotate the current tile around vertex A by the selected degree. Click the toggle next to it to repeat the rotation.
• "shift all N/E/S/W": shift the whole painting to the north/east/south/west. Click the toggle next to it to repeat the shift.
• "swap all colors": swap the two colors of the current tile.
• "color all randomly": select random color combinations for all tiles.
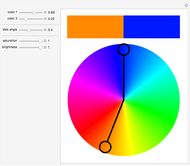
Color selections:
Use the popup menus to pick the two colors to blend.
"swap": swap the two colors of the current tile.
"random": the system chooses two random colors (out of 24) for the current tile.
"rot": rotates the set of four vertices (A, B, C, D) associated to the current tile: A=> B => C => D => A.
"reset": deletes all tiles except the current one. The last tile cannot be deleted.
"delete": deletes the current tile. The last tile cannot be deleted.
"snap": if active, clicking the board will find the lattice point closest to the grid.
(using the 60° grid for painting 1 to 20, and the 90° grid for painting 21 and later).
"show": use these checkboxes to display the following:
• "tile numbers": the sequence number of each tile is displayed at the center of the tile.
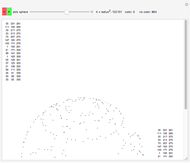
• "points": shows/hides the markers of the clicked positions during the creation of a new quadrilateral.
• "areas": shows/hides the colors of the tiles, instead the outlines of the tiles are shown. Go to painting 24 and click "areas". What happens?
• "board": a large background quadrilateral indicates an area you might want to fill in.shows/hides the playing area.
• "grid": shows/hides the grid. Paintings 1 to 20 use the isometric grid; paintings 21 to 30 use the orthogonal grid.
Tips
The system can be slow when using a high density. Hence it is recommended that you use a low density (around 50) while you design your layout, and only as a last step (or for checking in between) move to a high density.
Permanent Citation
-
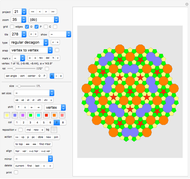
 Polyhedral Playground
Karl Scherer -
 Tiling Constructor, Tile-Dragging Variant
Karl Scherer -
 The Catenax Puzzle
Karl Scherer -
 Angel Puzzle
Karl Scherer -
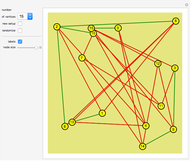
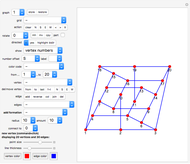 Constructing and Manipulating Graphs
Karl Scherer -
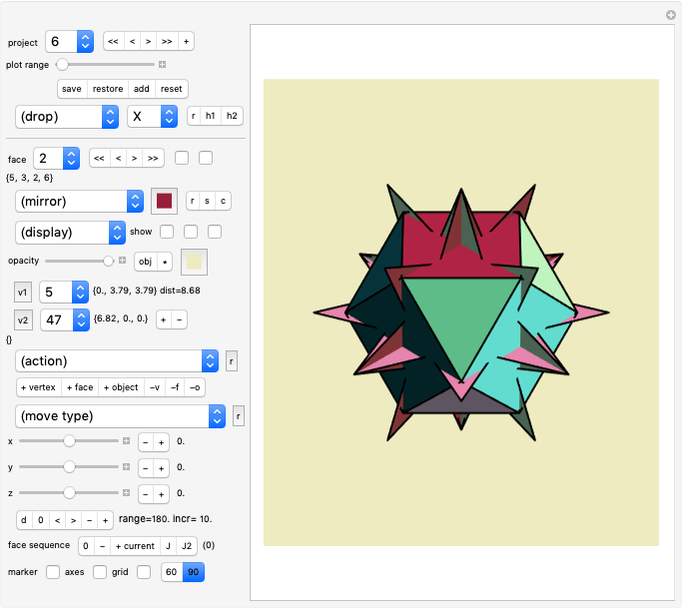
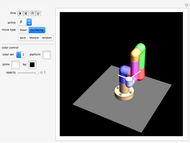
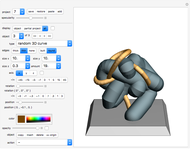 3D Construction Set
Karl Scherer -
 Blended Quadrilaterals
Karl Scherer -
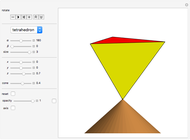 Rotating Polyhedra in Space
Karl Scherer -
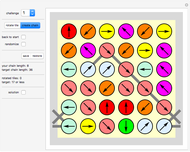
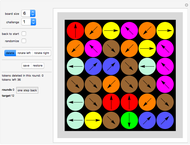 The Misdirection Game
Karl Scherer -
 Tensegrity
Karl Scherer -
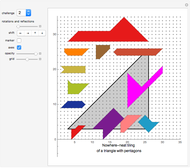 Nowhere-Neat Tilings
Karl Scherer -
 Pocket Calculator
Karl Scherer -
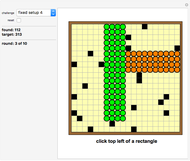 Area Puzzle
Karl Scherer -
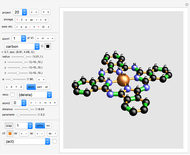 Molecule Construction Set
Karl Scherer -
 The Ray Puzzle
Karl Scherer -
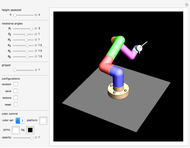
 Animated Model of an Industrial Robot Arm
Karl Scherer -
 Model of an Industrial Robot Arm
Karl Scherer -
 Color-Blended Circular Tiles
Karl Scherer -
 Rep-Tiles
Karl Scherer -
 Armed Balloons Puzzle
Karl Scherer