Color-Blended Circular Tiles


Requires a Wolfram Notebook System
Interact on desktop, mobile and cloud with the free Wolfram Player or other Wolfram Language products.
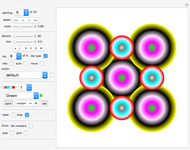
This Demonstration can be used to create a piece of art with color-blended circular tiles.
Contributed by: Karl Scherer (January 2017)
Open content licensed under CC BY-NC-SA
Snapshots


Details
Examples
First, have a look at paintings 1 to 7 to get a general idea of what this Demonstration can do.
Introduction
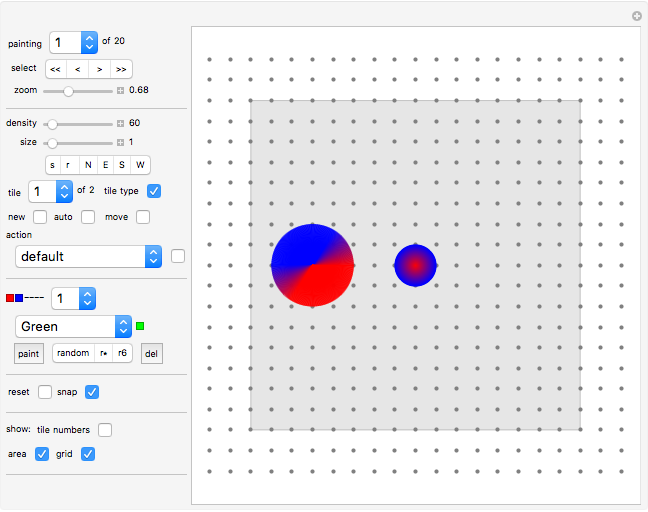
Let us start with painting 1.
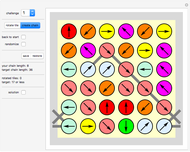
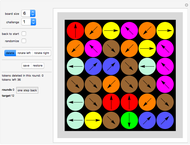
A circular shape made from colored circles is placed at the center of the board. It is an example of what we will call a "tile"—more precisely, a "tile of type 1". A tile can have between two and six colors (click the "r6" button a few times to see samples of six colors). These colors are blended into one other—that is, the innermost color flows seamlessly into the second color positioned at the rim and so on.
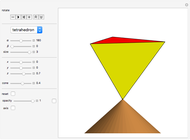
Now have a look at the second tile on the left side of the board. It is a tile of type 2. It is formed from a ring of colored lines that all start at the same board position and then radiate outward for a certain distance. In this case, the colors of these lines are blended from red to blue and back to red. As with type 1, a tile of type 2 can have between two and six colors. Click the "r6" button a few times to see samples of five colors; for details, see below under Controls.
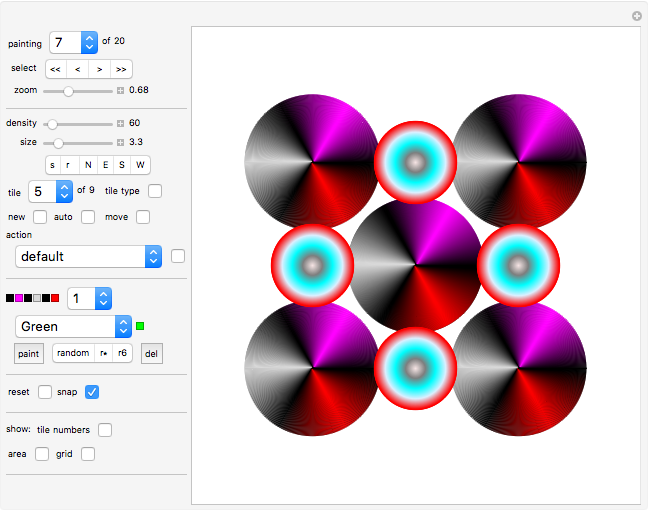
Covering the plane with tiles of type 1 or type 2 or a mixture of both (which may overlap, as in painting 7) can produce interesting designs.
Explore!
Controls
"painting": create a new painting or modify an existing one.
Paintings 1 to 10 have a square playing area.
Paintings 11 to 20 have a triangular playing area.
"select": use these arrows to select a painting.
"zoom": use this slider to zoom in and out.
"density": use this slider to set the density—that is, the number of circles needed to make the current tile look smooth. Design your creation using low densities (around 50), then use high densities for the finish. Low densities give you faster response times; high density creates smooth transitions. Every tile has its own density. There is an "action" (see below) that gives all tiles the same density.
"size": use this slider to increase the size of the current tile. Every tile has its own size. There is an "action" (see further down) that gives all tiles the same size.
"s/r/N/E/S/W": use this setter bar to choose from these six actions (only the currently selected tile is moved):
"s" = save painting
"r" = restore painting
"N" = shift tile north
"E" = shift tile east
"S" = shift tile south
"W" = shift tile west (half a unit step at a time)
"tile": use this popup menu to select the tile to work on.
"of": shows the number of tiles created.
"tile type": select the box to make the current tile of type 1; otherwise, it is of type 2.
"new": click this box to create a copy of the current tile. The new tile will be at the same board position.
"auto": after you select this box, a new copy of the current tile will be placed at every clicked board position.
"move": after you select this box, the current tile moves to any clicked board position.
"action": use this popup menu to choose from these options:
• "default": do nothing.
• Shift the entire painting to the N/E/S/W.
• "color all randomly": color all parts of all tiles randomly.
• "colors = current": copy the colors from the current tile to all tiles.
• "sizes = current": gives all tiles the same size (as set by the "size" slider).
• "density = current": copy the density from the current tile to all tiles.
• "types = current": copy the type (circular or radial) from the current tile to all tiles.
• "types = random": for each tile, the system will randomly set the type to 1 or 2.
• "current to top": move the current tile to the top of the pile (i.e. make the current tile the last in the sequence).
• "delete current": delete current tile. You cannot delete the last tile.
• "10 random copies": creates 10 copies of the current tile, positioned randomly in the square  .
.
• "flip all types": for all tiles, swap type 1 with type 2.
• "recolor (type)": for all tiles that have the same type as the current tile, apply the colors of the current tile.
• "resize (type)": for all tiles that have the same type as the current tile, set the size to the size of the current tile.
• "random size (type)": for all tiles that have the same type as the current tile, randomize the size (it will be between .5 and 2.0 of the current size).
• "density (type)": for all tiles that have the same type as the current tile, set their density to the density of the current tile.
Click the toggle at the right to repeat the last action.
The colored squares show the colors associated with the current tile. The popup menu lets you select which tile part to edit. This number is a place colored already or one step higher (to the right in the row).
Use the next popup menu to pick the color you want to apply to the current tile part.
"paint": click this button to color the selected tile part. The selected target tile part must be already painted or must be unpainted and "to the right" in the sequence of painted parts. Example: (red, blue, -, -, -, -) will be replaced by (red, green, -, -, -, -) or (red, blue, green, -, -, -), depending on whether tile part 2 or tile part 3 was selected as the target in the tile part popup menu.
"random": the system chooses a random color (out of 24) for the current tile part.
"r*": the system chooses random colors (out of 24) for each colored part of the current tile. Example: (red, blue, -, -, -, -) may be replaced by (yellow, green, -, -, -, -).
"r6": the system chooses random colors (out of 24) for each part of the current tile. Example: (red, blue, -, -, -, -) may be replaced by (yellow, green, black, purple, pink, brown).
"del": deletes the colors of parts number 3, 4, 5, 6. The first two parts cannot be deleted.
"reset": deletes all tiles except the current one. The last tile cannot be deleted.
"snap": if "snap" is active, clicking the board will find the lattice point closest to the 60° grid.
"show": use these checkboxes to display the following:
• "tile numbers": the sequence number of each tile is displayed at the center of the tile.
• "area": shows/hides the playing area.
• "grid": shows/hides the grid. Paintings 1 to 10 use the orthogonal grid; paintings 11 to 20 use the isometric grid. That is why the orthogonal type of "snap" is active only for paintings 1 to 10. The isometric snap is active in paintings 11 to 20.
Tips
The system can be slow when using a high density. Hence it is recommended that you use a low density (around 50) while you design your layout, and only as a last step (or to check in between) move to a higher density.
Play with setting "density" to suboptimal values. You will find that some nice moiré patterns appear.
In painting 7, tiles 2, 3 and 4 have suboptimal densities, which create moiré patterns. Painting 1, which is placed in the center, has a higher density and therefore does not show a moiré pattern.
Remember that each tile is characterized by
• a set of 2, 3, 4, 5 or 6 colors
• type
• size
• density
• position
Permanent Citation
"Color-Blended Circular Tiles"
http://demonstrations.wolfram.com/ColorBlendedCircularTiles/
Wolfram Demonstrations Project
Published: January 13 2017
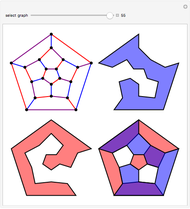 Four-Color Maps
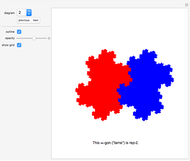
Ed Pegg Jr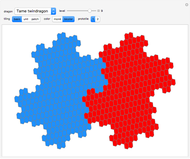 Tiling Dragons and Rep-tiles of Order Two
Dieter Steemann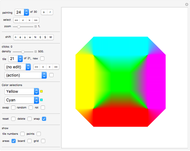 Blended Quadrilaterals
Karl Scherer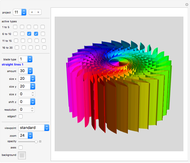 Color Blades
Karl Scherer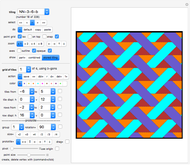 Nowhere-Neat Tilings of the Plane
Karl Scherer Color Relationships
Jeremy Davis Color Schemes
Katherine Tian Breault Borg Color Angles
Jon Perry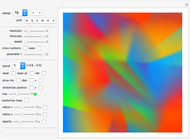 Color Islands
Karl Scherer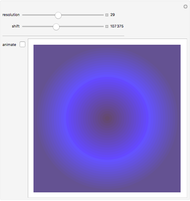 Gray Color Meditation
Michael Schreiber
-
 Polyhedral Playground
Karl Scherer -
 Tiling Constructor, Tile-Dragging Variant
Karl Scherer -
 The Catenax Puzzle
Karl Scherer -
 Angel Puzzle
Karl Scherer -
 Constructing and Manipulating Graphs
Karl Scherer -
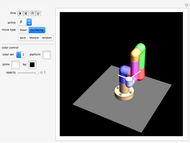
 3D Construction Set
Karl Scherer -
Blended Quadrilaterals
Karl Scherer -
 Rotating Polyhedra in Space
Karl Scherer -
 The Misdirection Game
Karl Scherer -
 Tensegrity
Karl Scherer -
 Nowhere-Neat Tilings
Karl Scherer -
 Pocket Calculator
Karl Scherer -
 Area Puzzle
Karl Scherer -
 Molecule Construction Set
Karl Scherer -
 The Ray Puzzle
Karl Scherer -
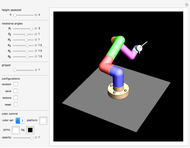
 Animated Model of an Industrial Robot Arm
Karl Scherer -
 Model of an Industrial Robot Arm
Karl Scherer -
 Color-Blended Circular Tiles
Karl Scherer -
 Rep-Tiles
Karl Scherer -
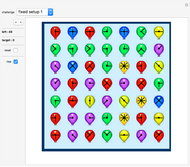 Armed Balloons Puzzle
Karl Scherer