Koman Variations

Requires a Wolfram Notebook System
Interact on desktop, mobile and cloud with the free Wolfram Player or other Wolfram Language products.
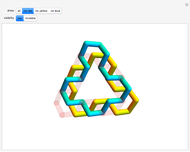
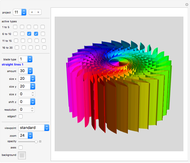
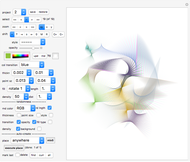
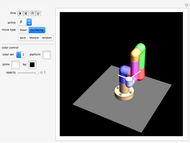
This Demonstration is based on the Demonstration "Koman Surfaces", but it contains a much larger range of possibilities.
[more]
Contributed by: Karl Scherer (June 2011)
Open content licensed under CC BY-NC-SA
Snapshots
Details
Introduction
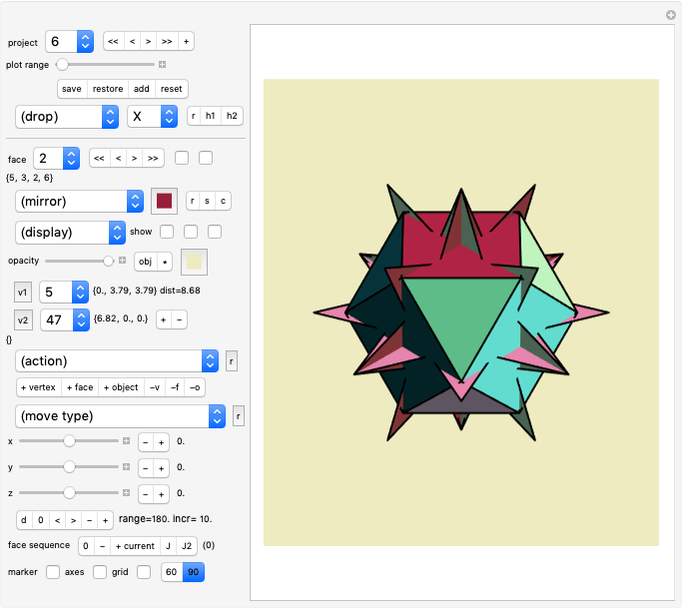
The objects you can create with this Demonstration are based on arcs (partial circles), lines, and spirals on the surface of a sphere.
These curves can be connected with one central point (the center of the sphere) and/or with other curves.
Polar coordinates are used to position the centers of the arcs (via sliders), but no knowledge of mathematics is necessary to use this Demonstration.
An arc is defined by a central point, a radius, and two angles that measure the arc's start and end positions as an angle around the arc's center.
A spiral has two radii (distances to the spiral's center), one for the start position and one for the end position. Between the end points the radius smoothly changes from one value to the other.
The examples provided (especially object "1") give you a good idea of how to start your own object.
The currently edited arc or spiral can be automatically linked to another arc or spiral without gaps or overlaps by shifting it to the appropriate position. See the details for "join rim to part" and "via gr/gg/rr/rg" below.
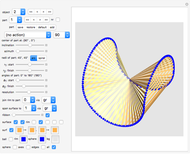
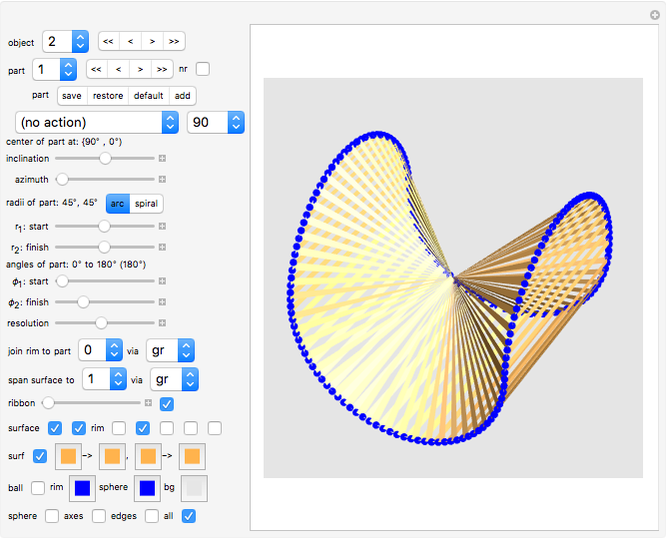
You create a surface between two curves using the "span surface to" and "via gg/gr" controls. Please note that only curves with the same resolution can be joined. (You might want to use the action "resolution -> all".) You are allowed to join a curve with itself (e.g. see objects "1" and "2").
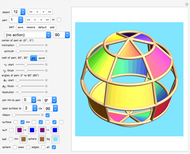
You can span only one surface from any given curve, but there is an easy way to seemingly span many surfaces from a given curve: first, simply duplicate the current curve (with the "add" button), then span the next surface from the duplicate. This trick has been used in object "3".
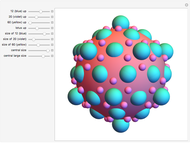
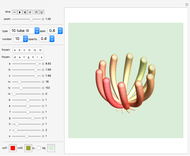
object 20 shows a "tumbleweed design", which was suggested by North Carolina State University to NASA for a Mars rover.
The controls are described in the following.
"object" control (= project control)
Use this control (or "<<,<,>,>>") to select the object you would like to look at or edit.
(see also actions "object: add", "object: default" and "object: delete" below).
"part" control
Use this control to select the arc (or spiral) you want to edit.
The start and end points of this curve will be marked with a green point and a red point. Also, the center of the part will be marked by a larger red point.
An arc or spiral is implemented as a series of straight lines. The vertices of the current part are marked by black points.
The surface of the object consists of triangles defined by two consecutive vertices of the arc or spiral and the center of the sphere.
"</>>"
Click one of the buttons to jump to the first, previous, next, or last arc. Warning: always click "save" before you select another part; all editing of the current part will be lost otherwise.
toggle "nr"
Click "nr" to display part numbers attached to your object. The arc number is positioned at the starting point of an arc.
"save/restore/default/add"
Click "save" to save the current arc or spiral.
Click "restore" to restore the current arc or spiral.
Click "default" to restore the default of the current part. If you have added this part, it will stay unchanged.
Click "add" to add a copy of the current part as an additional, new part.
Actions
"no action" is the default value of a list of actions you can perform on your arc or spiral.
Select "delete part" to delete the currently edited part. Note that the last existing part cannot be deleted.
Select "delete others" to delete all arcs and spirals except the current one. The last remaining part cannot be deleted.
Select one of the six actions "reset to ...° arc" to reset the current arc to a default arc. Some display controls (such as "rim") are also reset.
The following nine options work only for the first pair of surface colors (see below):
- Select "swap colors" to swap the two surface colors ("from" color and "to" color) of the current part. If the "all" checkbox is active, then all color pairs will be swapped.
- Select "rainbow colors" to color the first arc (or spiral) purple, the next one blue, the next green, and so on.
If you want a smooth transition between colors, use the action "join colors".
- Select "join colors" to make the end color of part "1" identical to the start color of part "2" and so on.
- Select "blend colors" to replace the from- and to-colors of the current part by a blend of both. If the "all" checkbox is active, then all color pairs will be blended.
- Select "alternate colors 1" to reverse the colors of every second arc (or spiral), starting from the first part.
- Select "alternate colors 2" to reverse the colors of every second arc (or spiral), starting from the second part.
- Select "from-color -> all" to give all parts the same starting color.
- Select "to-color -> all" to give all parts the same end color.
- Select "from-color -> to" to make the end-color the same as the start color for all parts.
Select action "rotate part by..." to rotate the current arc or spiral around its center. The from- and to-angles will be changed accordingly. Click "save" to make the changes permanent.
Select "z-rotate part by..." to rotate the current arc or spiral around the north-south axis.
Select "start-rotate by..." to rotate the current arc or spiral around the (green) start point of your arc or spiral. The angle used for this rotation is displayed right after this drop-down menu.
Select action "end-rotate by..." to rotate the current arc or spiral around the (red) end point of your arc or spiral. The angle used for this rotation is displayed right after this drop-down menu.
Select "resolution -> all" to apply the current resolution to all parts of the object. This will also store the current part as if you had clicked "save". The calculations for "resolution -> all" may take a few seconds to be processed.
Select "ribbon -> all" to apply the current "ribbon" slider value to all parts of the object.
Select "rim checks -> all" to apply the current values of "rim" checkboxes 2, 3, and 4 to all parts of the object.
Select "rim = lines/dots/cylinders/tubes" to choose among four different types of rim for your object.
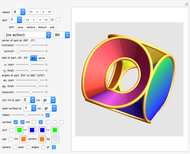
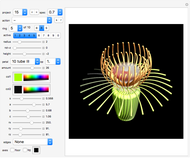
object "6" is an example that uses cylinders as rims. The radius of the cylinders (and tubes) is taken from the drop-down menu next to the action selection (a value between 1 and 360) and then divided by 1000 (remember that the radius of the sphere containing your object is exactly 1). There are several checkboxes that control in detail which parts of the object's rims are displayed (see "rim" below).
Select "surface checks -> all" to apply the current values of "surface" checkboxes to all parts of the object. This allows you to show or hide all surfaces of your object with one action.
Select "ball size -> all" to set the ball size identical for all parts.
Select "set ball size to" to set the ball size to the action value selected (next to the "action" drop-down menu), divided by 100.
Select "ball at center" to place a sphere of size "ball size" and of color "sphere" at the center of your creation. (This is used in object 20).
Select "set point size to" to set the point size to the value selected (right after the action drop-down menu), divided by 1000.
Clicking "striped -> all" causes all surfaces to be striped, if the current "striped" toggle is off, and it causes all surfaces to be unstriped if the current toggle setting is "on".
Select "light = Neutral/Automatic" to choose from among two different types of lighting.
Select "object: add" to add the currently edited object to your art collection.
Select "object: default" to re-create the original object. If you added this object it will stay unchanged.
Select "object: del" button to delete the currently edited object.
"center of part at: {.., ..}"
This shows that position of the current arc's (or spiral's) center in polar coordinates (see next two controls).
Only the integral parts of inclination and azimuth are shown. To see the exact values, click the small "+" sign.
"inclination"
Use this slider to define the inclination (angle  to the vertical, 0° <=
  <= 90°) of the center of the currently processed arc.
"azimuth"
Use this slider to define the azimuth (0° <=  <= 360°, in the horizontal plane) of the center of the currently processed arc.
"radii of part: ... arc/spiral"
Click "arc" if you want a partial circle. Only the first radius slider ("r1") will have an effect.
Click "spiral" if you want to create a (partial) spiral. In this case you will control two radii, one for the (green) start point of the spiral and one for the (red) end point of the spiral.
" start"
Use this slider to define the radius of the currently processed arc. (Technically the slider defines the inclination of the arc's points relative to the arc's center, as seen from the center of the sphere.)
If a spiral is selected (case 2, see above), then r1 denotes the distance of the (green) start point to the center of the spiral.
" finish"
Use this slider to define the radius at the (red) end point of the spiral. (Technically the slider defines the inclination between the spiral's points and the spiral's center, as seen from the center of the sphere.)
Use this slider to define the start angle (0–360°) of the currently processed arc or spiral, where  = 0° points east and
  = 90° points north.
Use this slider to define the end angle (0–720°) of the currently processed arc or spiral. This finish value must be larger than the start value.
"resolution"
Use this slider to define the number of polygons in the currently processed arc. The higher this number, the smoother the surface will be.
"join rim to part"
Use this control to select the arc (or spiral) you want the current curve to join another one with a perfectly smooth transition. This target curve must be different from the one currently being edited, and it must have the same resolution (use action "resolution -> all").
The start and end points of this target will be marked with a green dot and a red dot; the vertices of the target curve will be marked by orange dots. Also, the center of the target will be marked by a larger purple point.
There are four ways to join two curves; see details under "via /gr/gg/rg/rr".
If one of two joined curves is moved, the joint will be broken. It can be healed by resetting the "join" part number to 0, then to its former value.
"via /gr/gg/rg/rr" drop-down menu
Select "gr" to join the green start point of the current arc or spiral to the red end of the target curve. Select "gg" to join the green start point of the current arc to the green start of the target curve. Select "rg" to join the red end point of the current arc to the green start point of the target curve. Select "rr" to join the red end point of the current arc to the red end point of the target curve.
Now (if you have not done it yet) select the part to join to (see "join rim to part" above).
In some rare cases the two curves do not join automatically but seem to run parallel to each other. In these cases the currently edited curve needs an additional turn by 180° (use action "rotate part by...").
"span surface to"
Use this control to create a surface between two curves (arcs or spirals).
The following "via" control lets you choose whether you want to join the first vertex of the current part to the target's first or last vertex.
You are allowed to span a surface from a curve to itself (e.g. see object "1").
Note that the surface will only be displayed if the resolution of both curves are chosen to be the same! (Consider using action "resolution -> all".)
"via gg/gr" drop-down menu
This control lets you choose whether you want to join the first vertex of the current part to the target's first vertex or to its last vertex.
"ribbon" slider and checkbox
If the "ribbon" slider is greater than zero, the walls connecting a curve to the center will not go all the way to the center of the sphere. This results in an interesting ribbon effect on the object. Related controls: first "surface" checkbox, third "rim" checkbox.
Click the "ribbon" checkbox to display the inner rim of the ribbon (as a colored line, dots, or cylinders).
"surface" checkboxes
Each curve (arc or spiral) can have the following:
• an associated surface that connects it to the center
• a surface that it spans with another curve (see "span surface to")
Clicking the first checkbox hides/shows the surface connecting it to the center. Note that even when this checkbox is switched off, the ribbon outline is still displayed as long as the ribbon checkbox is active!
Clicking the second checkbox hides/shows the surface connecting the current curve to another curve (or to itself) if such a surface was selected. See "span surface to" above. Try this out in object 1: if you span it to itself, an area ("wall")with be drawn under the bend of the arc).
If you need to span a wall under the current arc and also want to span it to another arc, use two arcs positioned at the same point, then span the first arc to itself, and the second arc to a third arc.
"rim" checkboxes
Click the first "rim" checkbox to show/hide the black vertex markers of the current curve. These markers are meant for testing only.
Click the second "rim" checkbox to produce a colored outlining (lines/dots/cylinder) of the rim that lies on the surface of the surrounding sphere. The color used is either the one selected for the sphere (default) or the "from" color of the surface colors (see action "rim color = from").
Click the third "rim" checkbox to produce a colored outlining (lines or cylinder, no dots!) of the lines that connect the first and last vertices of a curve to the center or to the ribbon.
Click the fourth "rim" checkbox to produce a colored outlining (lines, cylinder or tube, no dots!) of the lines that connect the first and last vertices of two curves that span a surface constructed with the "span surface to" control.
Click the fifth "rim" checkbox to produce a colored outlining (lines or cylinder, no dots!) of the line connecting the first vertex of the curve with the last vertex of the curve.
Exercise: In object "1", click all checkboxes off and on, and observe the effect on the displayed object.
Note that there is an action ("rims -> all") that applies the "rim" checkbox settings of the current part to all parts.
"surf" (second row of surface controls: "striped"- toggle and two pairs of blending colors)
Click the toggle to mark the part as "striped". This means that all surfaces of the current part are displayed as a set of thin stripes with gaps in between, the number of stripes being controlled by the resolution.
The first two color swatches separated by an arrow "->" control the blending of colors of the surface that connects the part with the origin.
The second set of two color swatches separated by an arrow "->" controls the blending of colors any other surface.
"ball"
Click this checkbox to make a decorative ball (default radius .1) appear at the center of the current curve. Associated controls are actions "ball -> all", "set ball size", and "rim color = sphere/from" (the system uses the rim color for the ball, which can be the sphere color or the "from" color).
Part-independent controls
The following controls are part-independent controls and are stored only once per object. They are stored automatically whenever you change them, so you do not have to click the "save" button to make them permanent.
Color swatch "rim"
This swatch controls the color of the rim of the current part.
Color swatches "sphere color" and "bg"
Use these controls to select the color of the large sphere and the color of the background.
"sphere"
Clicking this checkbox makes the large sphere appear/disappear.
"axes"
Clicking this checkbox shows the coordinate axes and the curve's center.
"edges"
Clicking "edges" shows/hides the border lines of the polygons that make up the curved surfaces.
The edges will only be visible if one of the two "surface" checkboxes is activated.
"all"
Click this checkbox to show all stored parts at once.
Please note that the effect of some "actions" depends on whether the "all" checkbox is active or not.
These are the actions "swap colors" and "blend colors". If "all" is inactive, then these actions only affect the current part.
Hints
• Part of the display may disappear if you move the resolution slider because the system creates spanning areas only between curves of same resolution. Use action "resolution -> all" to avoid this.
• When you edit a part (arc or spiral), use "part save" often.
• To speed up development: Use action "rim = lines". Once you have finished your basic design, you can use "rim = cylinders" or "rim=tubes".
• To speed up development: Use a low "resolution" value. Once you have finished your basic design, you can increase the resolution for all parts simultaneously by using the action "resolution -> all".
• If the 3D rotation of your object with the mouse does not work immediately, you might have to wait a few seconds with the left mouse button pressed.
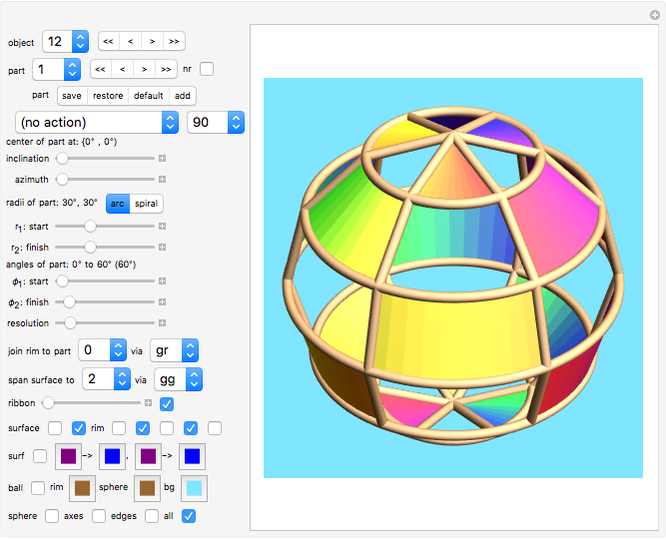
• You can span only one surface from one curve, but there is a way to span many surfaces from a given curve: simply duplicate the current curve (with "add") first, then span the next surface from the duplicate. This trick has been used in object "11".
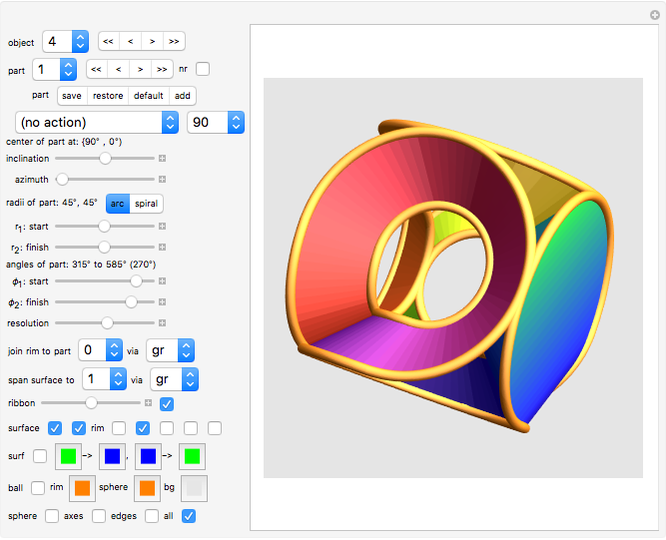
• As an example of how easy it is to use this program, we show how to construct object "4" in just a few seconds:
In object "1", select action "reset to 270° arc", then click the buttons "save", "add", "gg", "save", "add", "rr", "save", "add", "gg", "save", "add", "rr", "save", "add", "gg", and "save". That is all.
For the coloring, select the action "rainbow colors", then the action "join colors", and the action "alternate colors 1".
• In object "2" the direction of every second arc is reversed. So if you want to change the given colors, you do not have to create new colors for every arc.
Simply select one new pair of colors using the swatches and then select the actions "from-color -> all" and "to-color -> all". The reversed direction of every second arc causes the colors at the seams to match perfectly.
• The states of "sphere color" and all following controls are stored with the object rather than with each part. The only information not stored at all are lighting and the angle associated with some "actions".
• The part-independent controls (such as "sphere" and "sphere color") are saved automatically whenever you change them, so you do not have to click the "save" button to make them permanent.
• There is no "restore" control for the objects, only for parts. To reverse to the default of a object after editing it, simply select a different object and then re-select the one you were editing.
History
This Demonstration is based on the Demonstration "Koman Surfaces".
Permanent Citation
